Are you looking to start your own YouTube channel? If so, depending on your specific area of interest, such as game recording or webcam recording, you may want to explore various screen recording options. To accomplish this, you will need a versatile screen recorder for your PC that is tailored for YouTube and works for multiple purposes.
We have chalked out a few options that you can check out for screen recording. Select the best screen recording software and make the most of your screen recordings with our robust findings.
We have provided a list of six software options; check out the table below that outlines a brief comparison of each software.
| Direct uploading to YouTube | Recording Facecam | Compatibility | Free version | |
| Bandicam Screen Recorder | ✔ Yes | ✔ Yes | Windows | Available |
| Xbox Game Bar | No | No | Windows | Available |
| OBS | No | ✔ Yes | Windows, Mac, and Linux | Available |
| ShareX | ✔ Yes | No | Windows | Available |
| Camtasia | ✔ Yes | ✔ Yes | Windows and Mac | Not available |
| TinyTake | ✔ Yes | No | Windows | Available |
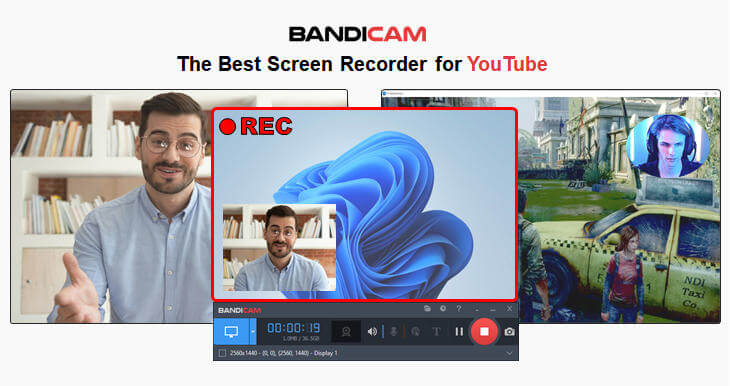
1. Bandicam Screen Recorder
If you are looking for a free screen recorder for YouTube, then Bandicam is the best choice. It allows you to capture anything on your screen and record video tutorials by using its screen recording functions. Bandicam also has added functions such as webcam overlay, scheduled recording, and real-time drawing.
How to record gaming videos for YouTube
Record your gameplay and create high-quality footage using the Bandicam screen recording software. You can also record your face along with the gameplay to make your video engaging and visually appealing. With Bandicam, you can capture various games like Minecraft, Grand Theft Auto, Sims 4, Counter-Strike: Global Offensive, Roblox, etc.
How to create tutorial videos for YouTube
- Plan your content: Before you start recording, create an outline of the key points that you want to cover in your tutorial video.
- Choose a screen recording software: Bandicam is the best screen recorder that supports a variety of necessary features for creating a YouTube tutorial channel, such as adding keystrokes, recording facecam, real-time drawing, and mouse cursor effects.
- Record your tutorial: Using the software you have selected, begin recording your tutorial.
How to use Bandicam
Step 1: Start Bandicam and select the recording mode.
Step 2: Tap on the ‘REC’ button to start recording. You can also use the F12 hotkey to start and stop the recording.
Step 3: Once the recording is complete, tap on the ‘Videos’ option using the Home button. Then, make edits, upload, delete, or play your video.
| Pros | Cons |
|---|---|
|
|
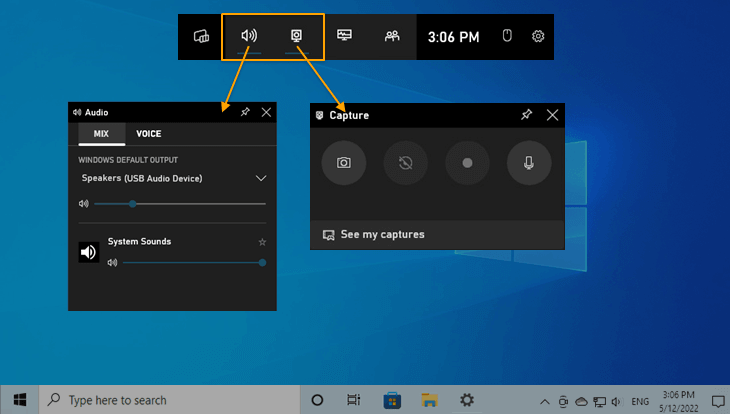
2. Xbox Game Bar
Xbox Game Bar allows you to record your PC screen easily. It enables you to create video tutorials, capture gameplay, and serves as a screen recorder for YouTubers, among many other functionalities.
Key Features
- You can start recording by tapping Win+G on the keyboard
- Customizable user interface
- Accessibility of chat capabilities while recording
- Compatible with newer versions of Windows
- Focuses on recording one app at a time
How to use Xbox Game Bar
Step 1: Start Xbox Game Bar by pressing the Windows logo key + G.
Step 2: Tap on the Windows logo key + Alt + R to start recording, and you will see a ‘Recording in progress’ message.
Step 3: Access recorded videos on your PC in the Captures folder under Videos in mp4 file format.
| Pros | Cons |
|---|---|
|
|
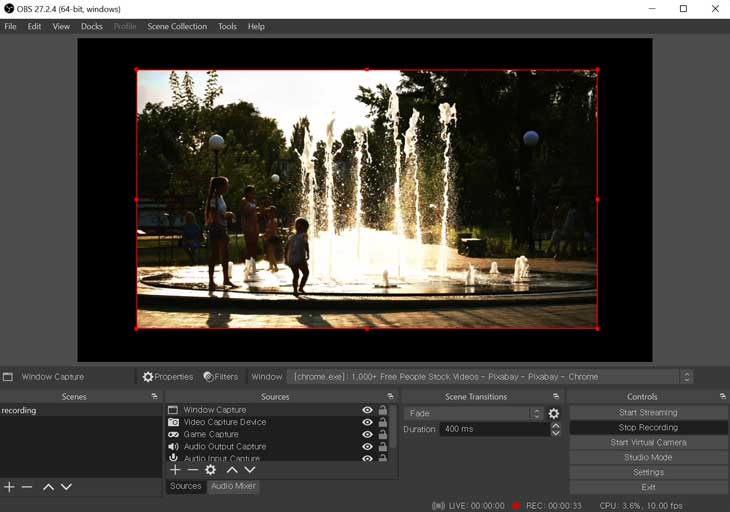
3. OBS
OBS is an open-source screen recording software that helps users record their screens and stream live videos at no cost. It allows users to record multiple windows or areas on their screen at once.
Key Features
- Allows capturing of multiple sources
- Allows audio mixing
- Unlimited multi-scene recording
- Modular and customizable dock interface
- Webcam overlay capability
How to use OBS
Step 1: Start downloading and then complete the launching of the OBS app.
Step 2: Search for the Sources box in the bottom section and tap on ‘+.’ Make a selection of options for Display capture
Step 3: Tap on the Start recording option.
| Pros | Cons |
|---|---|
|
|
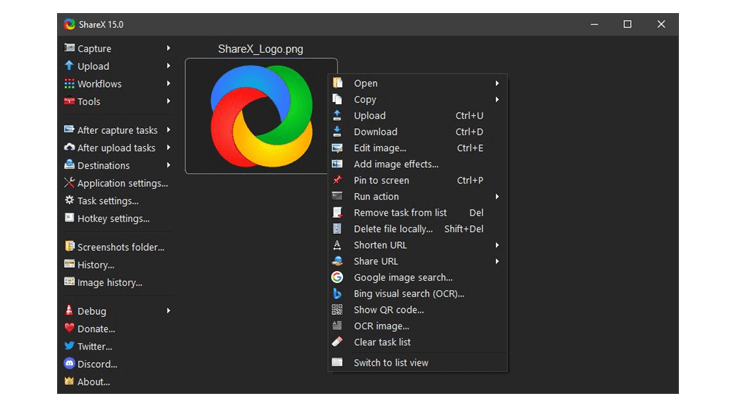
4. ShareX
ShareX is a powerful and professional screen recorder for YouTubers that provides various screen capturing options, such as full screen, region, scrolling Capture, etc. Beginners may find the software to be a bit tricky, but professionals love it for its advanced features.
Key Features
- Various screen capturing options
- Availability of delay capture
- Availability of annotation tools
- Customizable workflows
- Users can share on up to 80 destinations
How to use ShareX
Step 1: Download and install ShareX.
Step 2: Locate the Capture menu and select the screen recording option. The recordings will be saved in the screenshots folder.
| Pros | Cons |
|---|---|
|
|
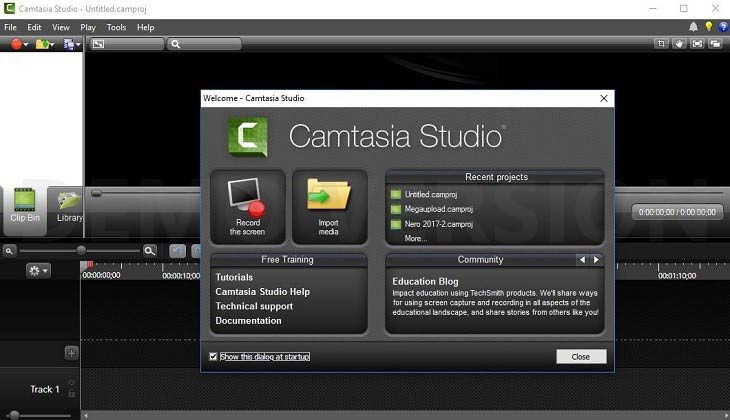
5. Camtasia
Camtasia is packed with features and is an apt screen recorder for YouTube. You can record video and audio simultaneously and combine the results after that. The software also allows you to add video effects, overlays, and animation to your work.
Key Features
- Editing of recordings can be done extensively using frame-by-frame
- You can separately edit audio, video, and cursor tracks
- Allows adding callouts, quizzes, and captions to your videos
- Enables import of PowerPoint slides, existing videos, or music
- A library of royalty-free music and sound effects that can be added to recordings
How to use Camtasia
Step 1: Launch the latest version of Camtasia and make a selection of recording areas. Tap on the toggle to turn the screen recording on/off.
Step 2: Tap on the dropdown menu to select the recording area. You can drag the handles for adjustment of selection or enter a specific size for the recording area.
Step 3: Tap on the toggle to turn the camera recording on/off, and select the camera device using the dropdown menu.
Step 4: On Windows, tap the Record button or use F9 for recording. For Mac, use the Start Recording option or Command+Shift+2 to initiate recording.
Step 5: To stop the recording on Windows/Mac, tap the Stop Recording option on the toolbar (or F10 for Windows and Command +Option+2 for Mac). Alternatively, click on the Camtasia icon from the menu bar and the Stop Recording option.
| Pros | Cons |
|---|---|
|
|
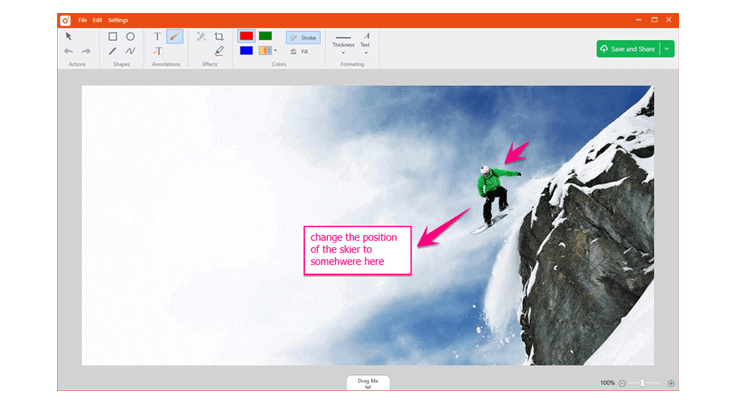
6. TinyTake
TinyTake, developed by MangoApps, is a sound screen recorder for YouTubers. It supports annotations and works for both Windows and Mac. The software also allows users to add text boxes, highlights, arrows, etc., to make video tutorials more visually engaging.
Key Features
- Availability of webcam capture
- Provides cloud storage
- Custom shortcut keys can be assigned
- Customized screen recording options such as full-screen or a select region
- Offers picture-in-picture mode webcam recording
How to use TinyTake
Step 1: After downloading the TinyTake application, tap on its icon using the system tray.
Step 2: Tap the Capture video from the screen or webcam option, or use the shortcut keys given in Settings under the tab for Hotkeys.
Step 3: Launch the app, tap Capture, and choose the required actions.
| Pros | Cons |
|---|---|
|
|
What is the best screen recorder for YouTube?
We have suggested several software to use as a screen recorder for YouTube. While each software has its pros and cons, you can efficiently use them on Windows and Mac, based on your work requirements. With this how-to guide, you can use your preferred software for personal or professional purposes and make the most of your YouTube screen recording experience.